Monday, January 16, 2012

Garlic-Scallion Noodles

This recipe has everything I love: a quick cooking & clean-up time (the longest part was waiting for the water to boil), a hearty amount of food and a lot of garlic.

Ingredients


8oz of thin noodles -- I used whole grain thin spaghetti, but I imagine that even thinner noodles, like angel hair would be delicious.
Four (4) tablespoons of butter -- I used vegan butter

Five (5) cloves of minced garlic -- If you are using garlic in a jar, five cloves equal 2 1/2 teaspoons
1/2 cup of chopped scallions/green onions -- I didn't actually measure this out, but I did use one bundle from the grocer
Two (2) tablespoons of soy sauce
1 1/2 tablespoons of brown sugar

Directions
Garlic, butter & scallions simmering
Cook noodles as directed on box. Drain and set aside.
Melt butter in a large pan (I'm pretty pumped that I got to use my wok for this one.)
Once butter is melted, toss in garlic and scallions.
Cook for about five minutes on a medium-low heat.
Stir in brown sugar and soy sauce.
Cook for one minute.
Turn heat up and toss in noodles. Ensure that noodles are completely coated. You can also sear them in the pan at this time if you so desire.
Serve immediately. It should serve four.


Sunday, January 15, 2012

Homemade White Bread

After realizing how many ingredients store-bought bread has (usually upwards of twenty), and knowing that bread really only needs four ingredients (I actually use five in this recipe), I decided to make my own. This has opened doors to so much more bread-making in my future. This adventure was spear-headed by my partner (see his blog here), and he is the one featured in the photos.


Ingredients


Four (4) cups of bread flour
Two (2) packets of Fleishmann's RapidRise active yeast -- You don't have to use the RapidRise, but it dramatically decreases the time needed for the bread to rise
One & a half (1 1/2) cups of water
Two (2) teaspoons of salt
1/8 cup of olive oil

Directions
Mix yeast, salt and two (2) cups of flour in a large mixing bowl. Set aside.
Heat water and olive oil in a saucepan until warm (specifically 120F - 130F degrees). -- I would make sure to actually test the temperature of the water; we used a food thermometer for it.
While stirring, add water to dry ingredients. -- For the mixing portion, you can use an electric mixer, but we did it all by hand.
It works best to knead the dough
flat, fold in half & repeat.
Slowly introduce the other two cups of flour to the mixture, while still stirring. It should create a doughy mixture (and start smelling delicious).
Start kneading the warm dough. You can do this in the bowl or on a flour-covered flat surface. (For kneading tips, go here.)
Let sit for ten minutes to rise initially. After ten minutes, knead again for a couple minutes. Some of the air will release and it will look flat again.

Place in greased loaf pan. Cover and keep in a warm area (such as a warm kitchen). Let sit until it doubles in size (this took 40 minutes for us).
Preheat oven to 375F degrees. Bake for 45 minutes or until golden-brown and cooked through.
Let cool and eat to your heart's desire!


Tips
Your kitchen should be warm while you're prepping the bread; this helps with the kneading and the rising of the bread.
Determine when your bread is done rising by it doubling in size, rather than a specific passing of time.
Also, a special shout-out to the Reluctant Gourmet blog, who gave us great bread-making tips. Check it out here.

Veggie Quiche

Quiche is possibly the best human invention. I mean, EGGS. VEGGIES. CHEESE. Inside of a PIE CRUST. Seriously. This veggie quiche is amazing, can be eaten for any meal, and should definitely be a go-to anytime you have extra veggies in the fridge.

Ingredients


One (1) 9" frozen pie crust -- I have yet to make my own, this one was purchased at Whole Foods
Five (5) large eggs
One & a half (1 1/2) cups of assorted chopped veggies -- I used baby portobellas, onion & green pepper. Feel free to get much more adventurous, though!
One & a half (1 1/2) cup of cheese -- I used cheddar cheese and a smoked gouda. I definitely suggest using smoked cheese, as it gives it a more robust flavor. You can use as many types of cheese as you'd like.
Two (2) cloves of minced garlic
One (1) tablespoon of butter
Salt & pepper to season

Directions
Preheat oven to 425F degrees.
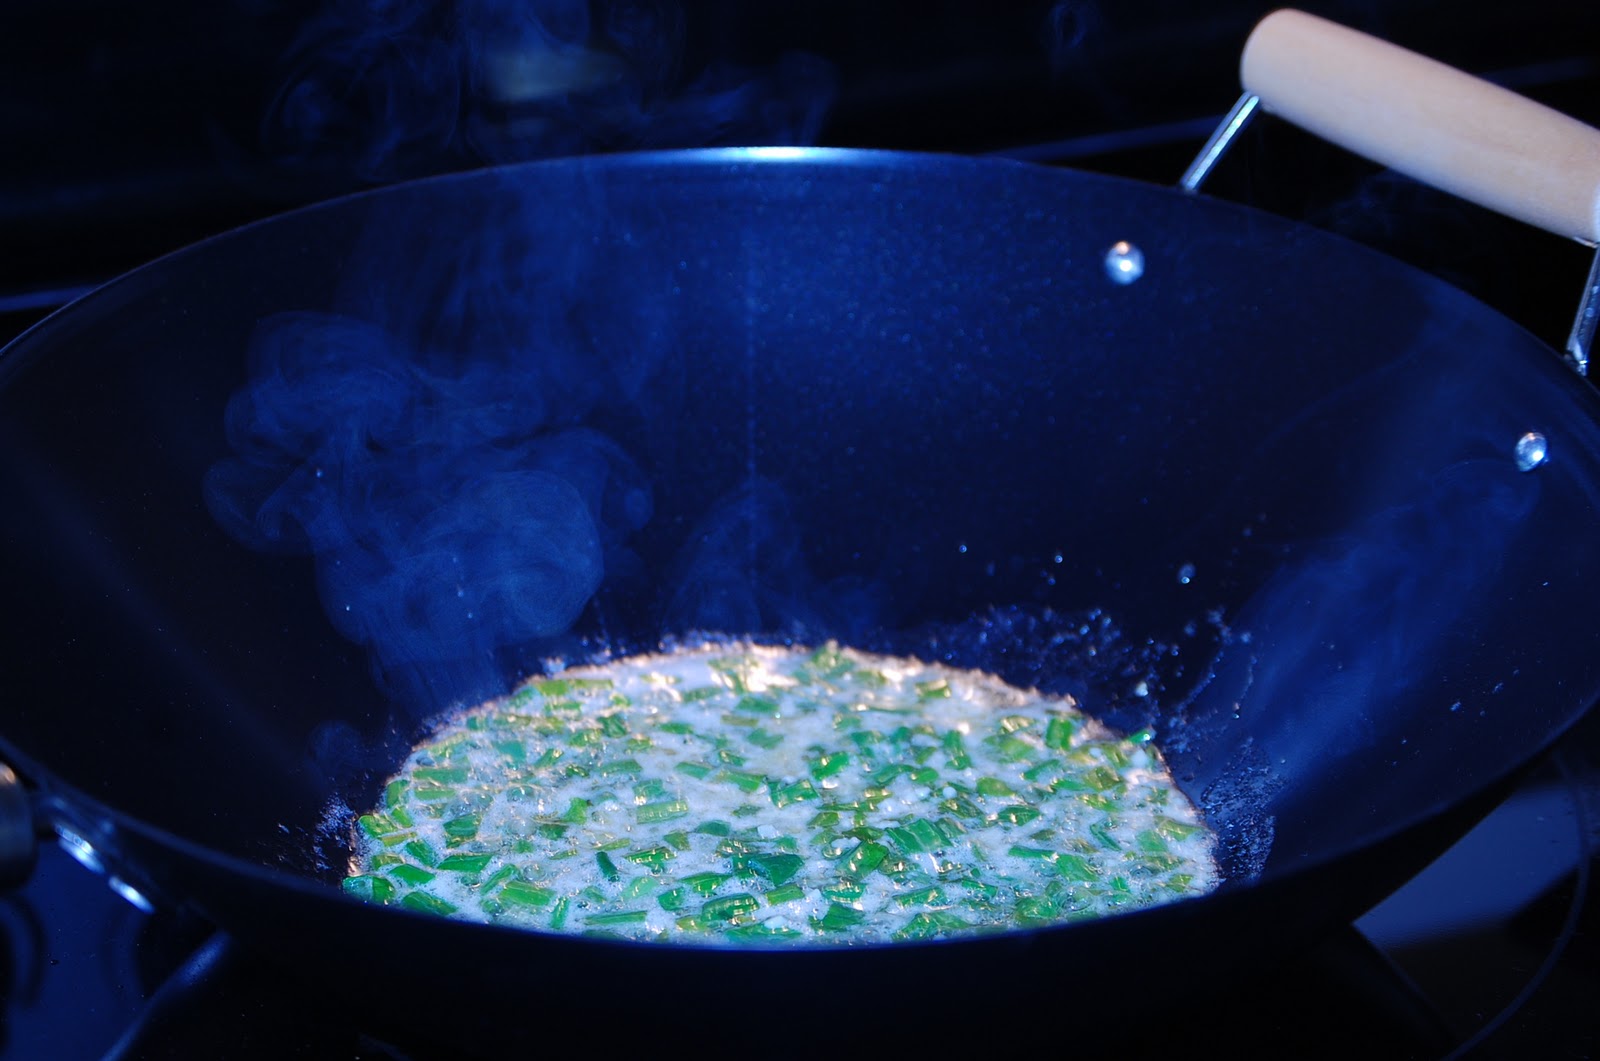
Throw the butter and garlic in a pan and heat up until the butter is melted.
Saute w/ garlic and butter,
but only if you love delicious veggies
Toss the veggies in there together until they are sauteed. (Note that mushrooms will cook faster than onions and green peppers, so throw those in last.)
While the veggies are heating up, crack all five eggs into a large bowl and beat until scrambled. Season with salt and pepper. Set aside.
Shred the cheese (I highly recommend getting blocks of cheese and shredding as needed, instead of pre-shredded cheese; it provides a fresher taste and you can shred according to whether you want thick shreds or thin). Mix the cheese so that it is not divided by flavor. Set aside.
Spoon the veggies, cheese,
and eggs into the crust
Once the vegetables are sauteed, spoon them into the bottom of the pie crust. Ensure that they are spread evenly. 
Next to be placed in the pie crust is the cheese. I usually spoon all but one small handful in. Ensure that it is spread evenly.
Now, pour your liquid egg evenly over the top of the cheese and vegetables. It should fill up to the top of the pie crust. You can now sprinkle the small handful of cheese on the very top.
Place in the preheated oven and bake for 25 minutes. (This varies based on your oven, so keep an eye on it.)
Once the top is golden-brown, remove from oven and test that it is completely cooked all the way through.
Let cool and eat ravenously.               


Give Peas a Chance!

I have been a vegetarian for three years, and a foodie for much longer. I especially love finding delicious food that is both environmentally- and human-friendly (i.e. organic, local, etc.)

As far as being a chef, I am pretty new to creating my own food at home, but it's been a great adventure thus far.

This idea originally came about as I wanted to create a veg*n cookbook for my veg friends (see related: 101 in 1001 list) & I thought it'd be great to document it along the way for you webheads, too. Also, I am new to photography, so all of the food photos are mine (taken with a Nikon D40) and will (hopefully) improve over the year.

So, the idea is one new recipe per week, with the possibility of specialty weeks sneaking in there (like Sandwich Week or documenting our annual Great Cookie Exchange). Thanks for reading & I'd love suggestions and recommendations (both food-related and photography-related).

My Nikon & me.

-Ann Marie